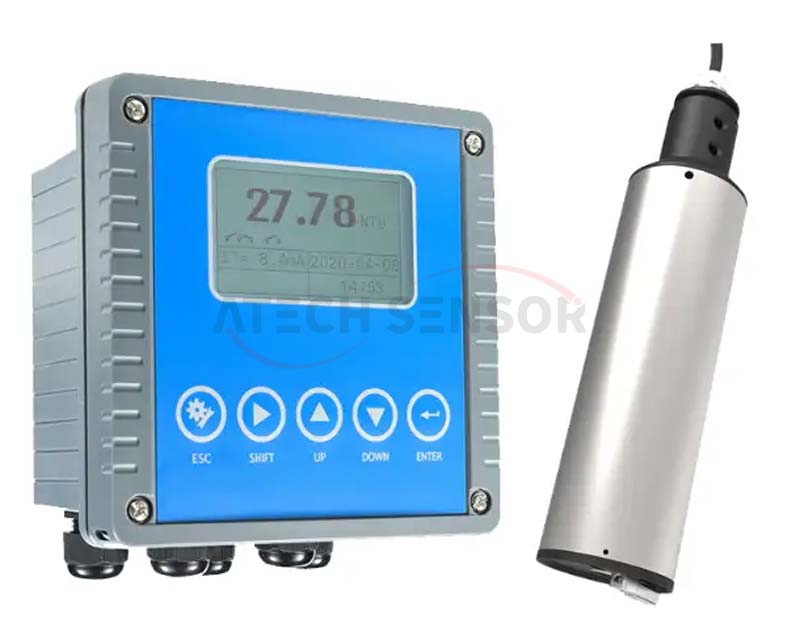
Water is not only for drinking but for countless daily activities. However, water quality varies significantly depending on the source and environment. That's where a water quality tester becomes an indispensable tool. A water quality tester is a device that measures various aspects of water to assess its quality. These aspects include pH levels, total dissolved solids (TDS), electrical conductivity (EC), and sometimes specific contaminants like lead or chlorine. The water testers can range from simple, portable devices to sophisticated laboratory equipment.
If you're a homeowner concerned about tap water, a basic handheld tester measuring TDS and pH might suffice. However, you might need a more advanced model for more detailed analysis, like testing for specific contaminants.
Metrics of Water Tests
PH Level: It assesses the level of measurement from zero to fourteen in determining whether it is acidic or basic. A pH of zero is very acidic, whereas a pH of fourteen is highly alkaline, with zero being neutral. Most drinking water should ideally be neutral.
TDS: Total Dissolved Solids represent Total Dissolved Solids represent the sum of all organic and inorganic compounds found in the water. A lower TDS value indicates purer water.
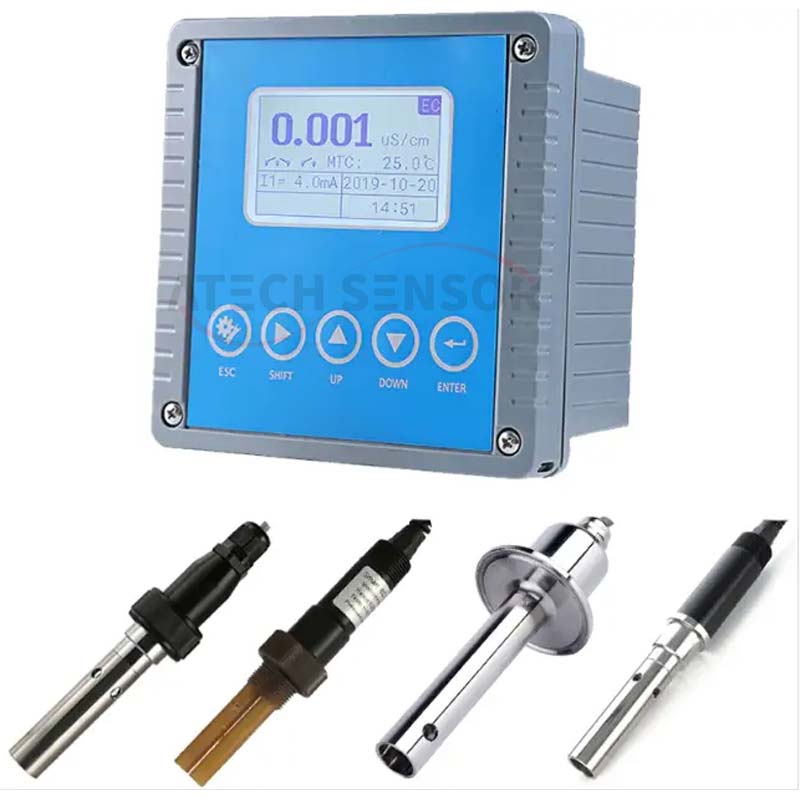
Electrical Conductivity: This measures the water's ability to conduct electricity, which increases with the amount of dissolved salts.
Preparing for Testing
Before using your water quality tester, it's essential to read the manufacturer's instructions carefully. Each model might have specific operating procedures. Ensure the device is calibrated if required and has fresh batteries if it's battery-operated.
Collecting a Water Sample
Step 1: Choose a clean container. Ensure it's free from any contaminants or previous contents.
Step 2: In case of testing tap water, let it run for some minutes and then collect the sample. This means that you will flush out the water stagnating inside the pipes and not only that of the faucet.
Step 3: Fill the container with water. Make sure you do not get the inside of this container with your hand because that would lead to contamination.
Conducting the Test
Step 1: Turn On the Tester
Activate your tester. Wait for it to initialize if necessary.
Step 2: Immerse the Probes
Gently lower the probes into the water. Ensure they are fully submerged but not touching the bottom or sides of the container.
Step 3: Stabilize the Reading
Wait for the reading to stabilize. This may take from a few seconds to a minute. Don't move the tester around during this time.
Step 4: Record the Results
Note the readings. If your tester has multiple functions (e.g., pH, TDS), switch between them and record each reading.
Step 5: Interpreting the Results
Understanding what the numbers mean is crucial:
● pH Levels: Seven is the neutral pH. Whereas values over 7 are considered alkaline, those below 7 are considered acidic. Most drinking water should be close to neutral.
● TDS Levels: TDS is measured in ppm (parts per million). Lower TDS indicates purer water. The EPA’s maximum contaminant level of TDS in secondary drinking water is 500 ppm.
● EC Levels: A high electrical conductivity (EC) may be an indication of a high mineral content, which in turn can impact the flavor and practicality of water.
After testing, clean the probes with distilled water. Dry them gently and store your water quality tester in a dry place. Avoid extreme temperatures. Moreover, calibrate your water testers regularly, especially if used frequently or for precise applications. Check the manual for the recommended calibration frequency. If your initial tests indicate potential water quality issues, consider further testing:
● Repeat Testing: Sometimes, retesting is needed to confirm results.
● Lab Testing: Consider sending a water sample to a certified laboratory for a comprehensive analysis, especially if you suspect contamination.
When to Test Your Water
Regular testing is essential, especially if your water source is prone to contamination. Test:
● After heavy rainfall, if you rely on well water.
● If there’s a noticeable change in taste, color, or odor.
● After any repairs to your plumbing system.