We need to understand the internal structure of the tank and the layout of the pipelines, and clearly grasp the tank diameter, range, wall thickness and other information. The mastery of this information will help lay the foundation for subsequent debugging. Before debugging, it is also necessary to ensure that the liquid level height in the tank is greater than 1 meter to meet the diameter calibration conditions. This is to ensure that the level meter can accurately reflect the liquid level inside the tank. Once the preparations are ready, you can follow the steps below to debug:
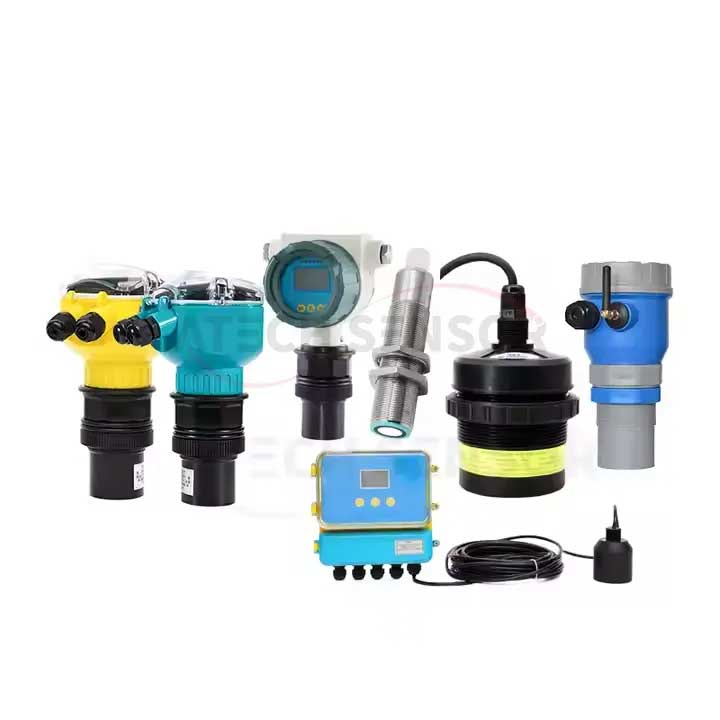
1. Probe installation location selection: According to the tank equipment diagram, select a suitable probe installation point. The probe installation location should be as far away from the inlet and outlet and the weld as possible to reduce signal interference and equipment loss. At the same time, there should be no obstructions such as pipelines in front of the probe to ensure the smooth propagation of the ultrasonic signal.
2. Debug the probe direction: After the probe is installed, it is necessary to ensure that its direction is completely perpendicular to the liquid surface to enhance the signal strength and measurement accuracy. During the calibration process, this goal can be achieved by adjusting the angle or position of the probe.
3. Zero point calibration: After the probe direction adjustment is completed, the liquid level meter needs to be zero-calibrated. This step is to ensure that the liquid level meter can accurately display the value of 0 when the liquid level is empty. The specific operation method can be carried out according to the instructions provided.
4. Range calibration: After the zero point is calibrated, the range calibration is required. This step is to ensure that the liquid level meter can accurately display the full liquid level height when the liquid level is full. Similarly, the specific operation method can refer to the instructions provided.
5. Repeat calibration: In order to ensure the accuracy and stability of the level meter, the debugging results need to be verified and calibrated multiple times. Calibration can be performed under different liquid level conditions such as empty level, 1/2 range, full level, etc. to check the accuracy and response speed of the level meter at different liquid level points.

After completing all the above debugging steps, you can confirm that the debugging work is completed. At this point, the level meter should be able to accurately and stably display the liquid level inside the tank. It should be noted that the debugging work is not a one-time thing, but needs to be performed regularly during use. This is because the performance of the equipment will change over time. In order to ensure that the level meter always maintains a good working condition, it needs to be calibrated and maintained regularly.